FROM MESH TO PREFAB
Next to making the assets, the way you import them is really important.
On this page I will try to explain my way of handling assets in Unity 3D.
I hope it could be helpful or interesting for the reader to have a view of my asset handling process. I’m not saying this is the only way how to import and handle your assets however this is the way I found to work best for me.
The Process

Using GIT
The first thing to do before you implement any assets is creating a new feature or branch in your repository for the implementation of the assets. It’s very important to be careful with your project. Making sure you won’t break the project by changing a prefab or mesh. By creating a feature or branch for your implementation and committing on a regular basis you save yourself a lot of struggles once a faulty replacement of meshes occurs.
Folder Hierarchy
Before you import your mesh you need to have a correct folder to import it in.
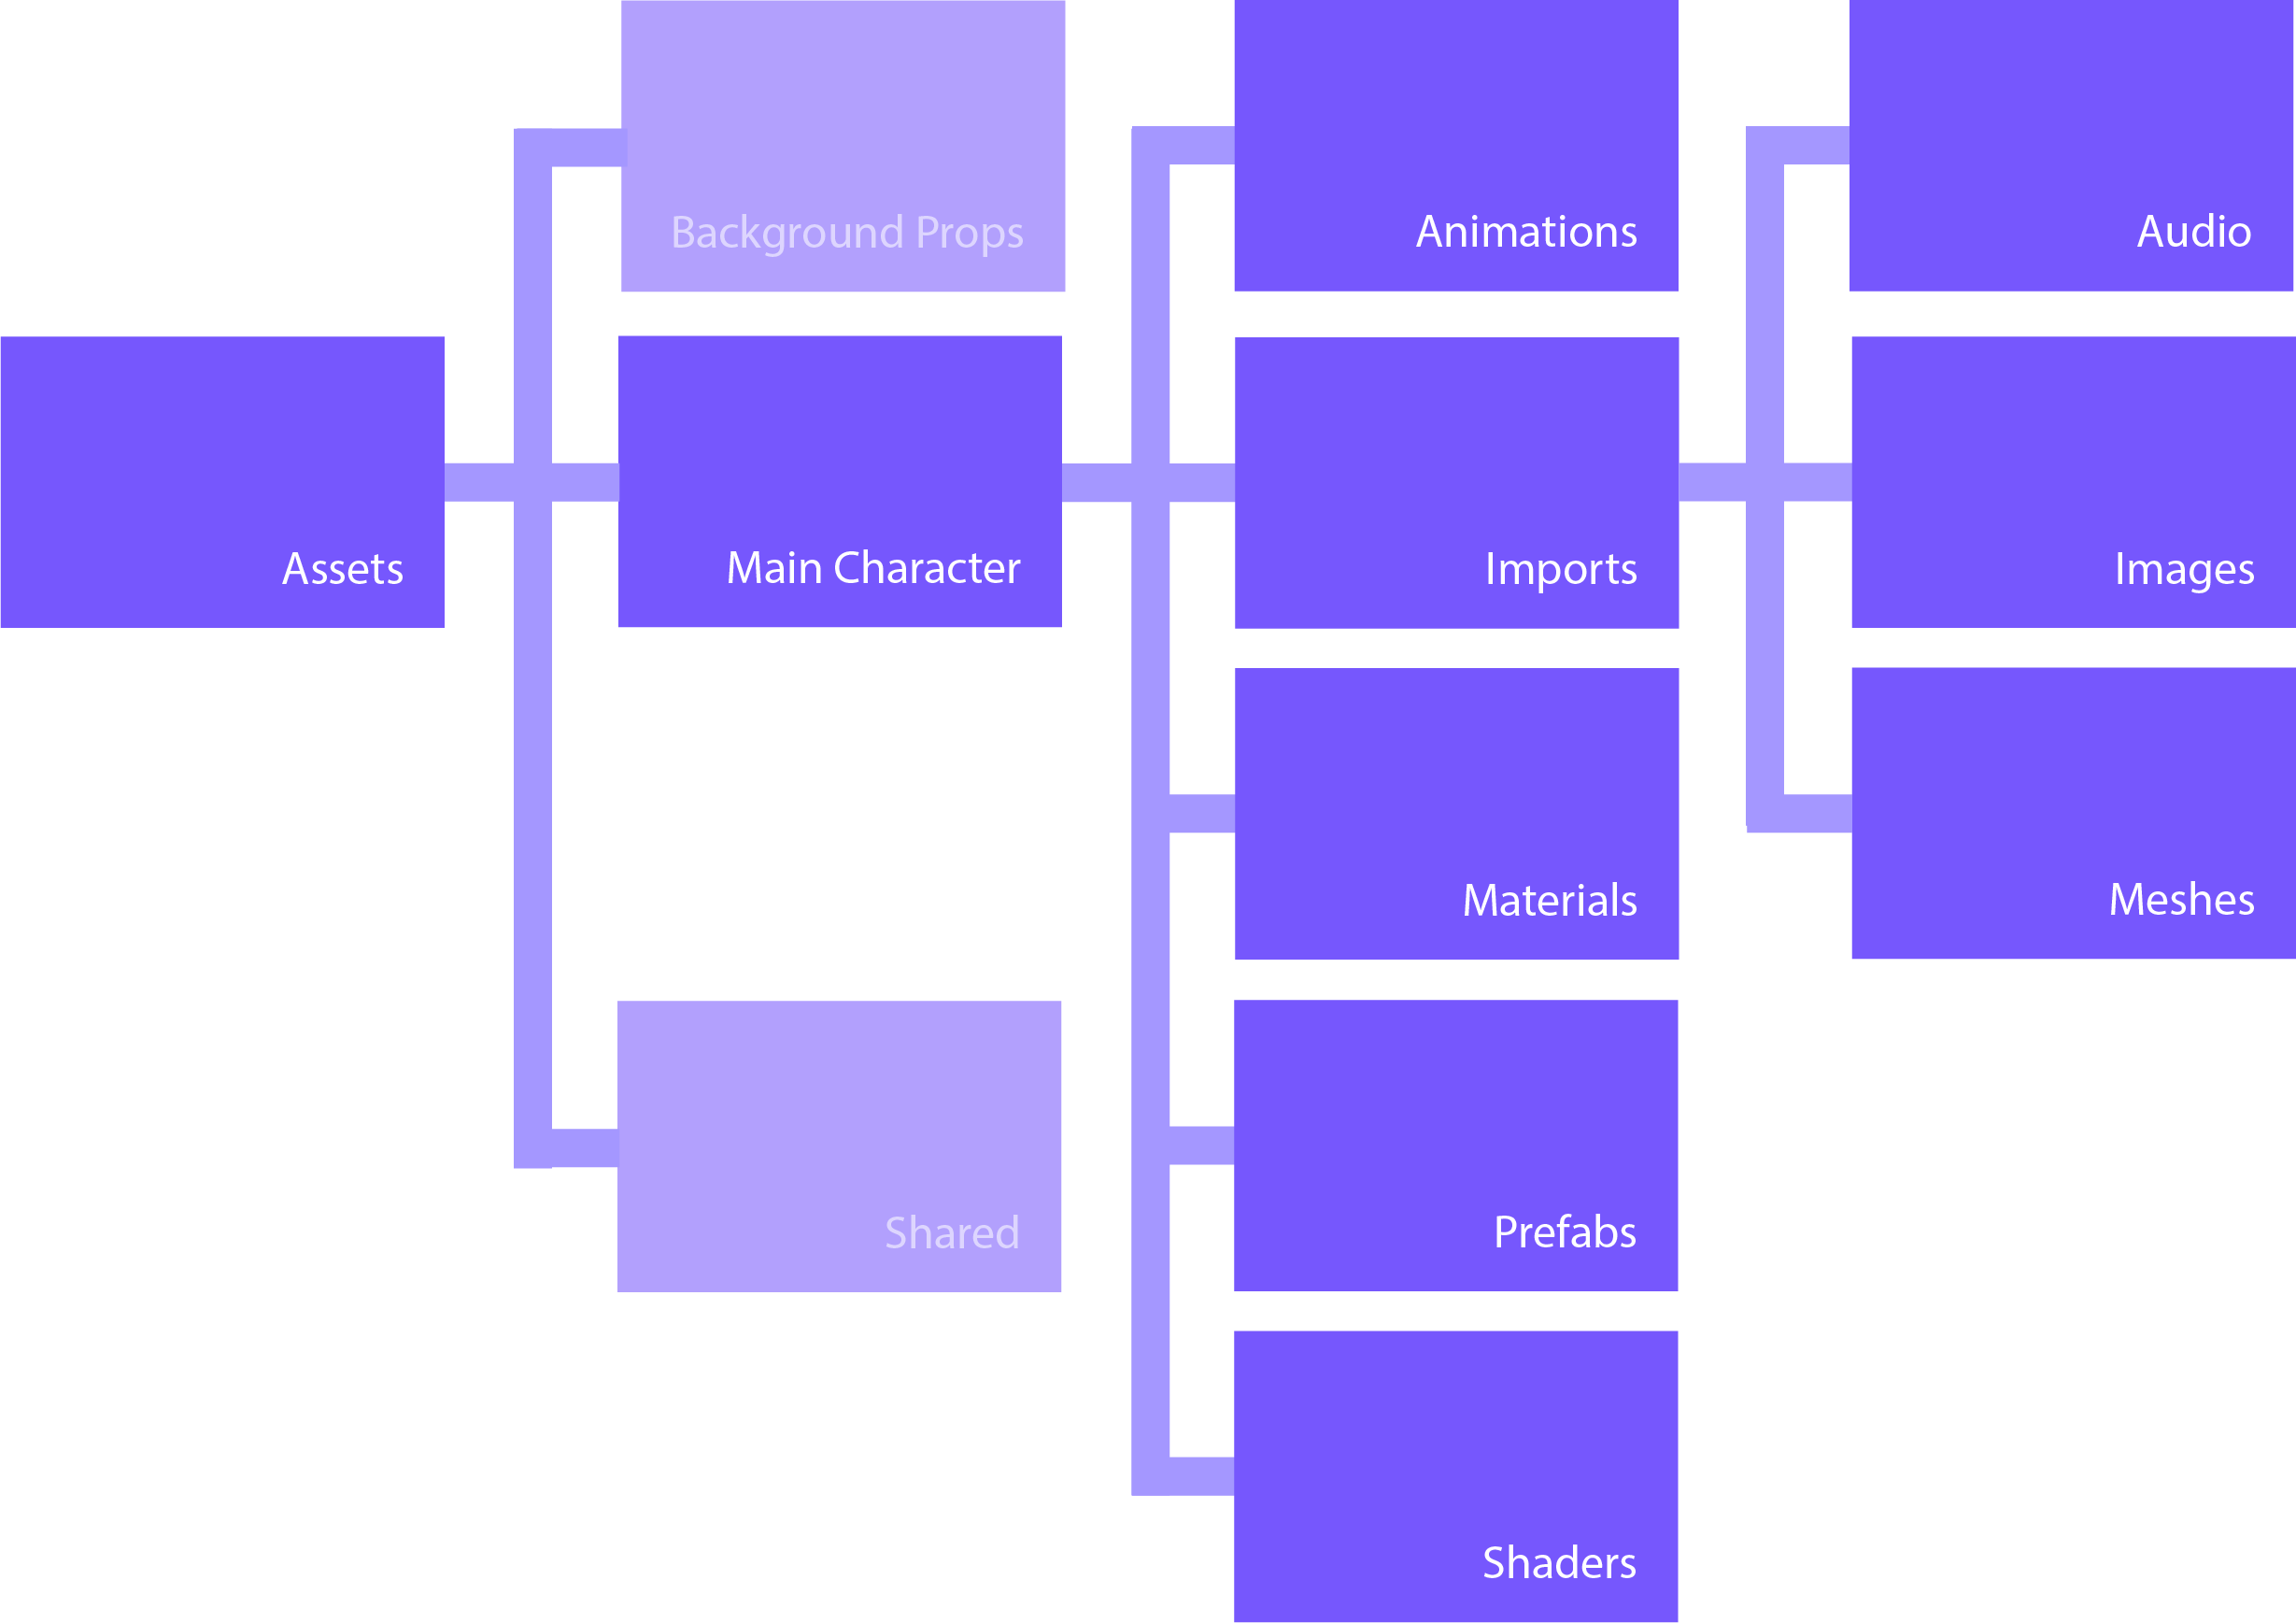
Object oriented folder hierarchy:
This hierarchy focuses on the objects. Having a parent folder within the Assets folder that carries the name of the object. Within these parent folders there are child parents for all the components of the object. Things like images, materials shaders and more. This folder hierarchy is great for small projects in which the focus is on the objects of the project. However I must say, personally I prefer the type orientated folder hierarchy. However in my current job I have to keep in mind what the programmer prefers and sometimes, that is object oriented folder hierarchy.

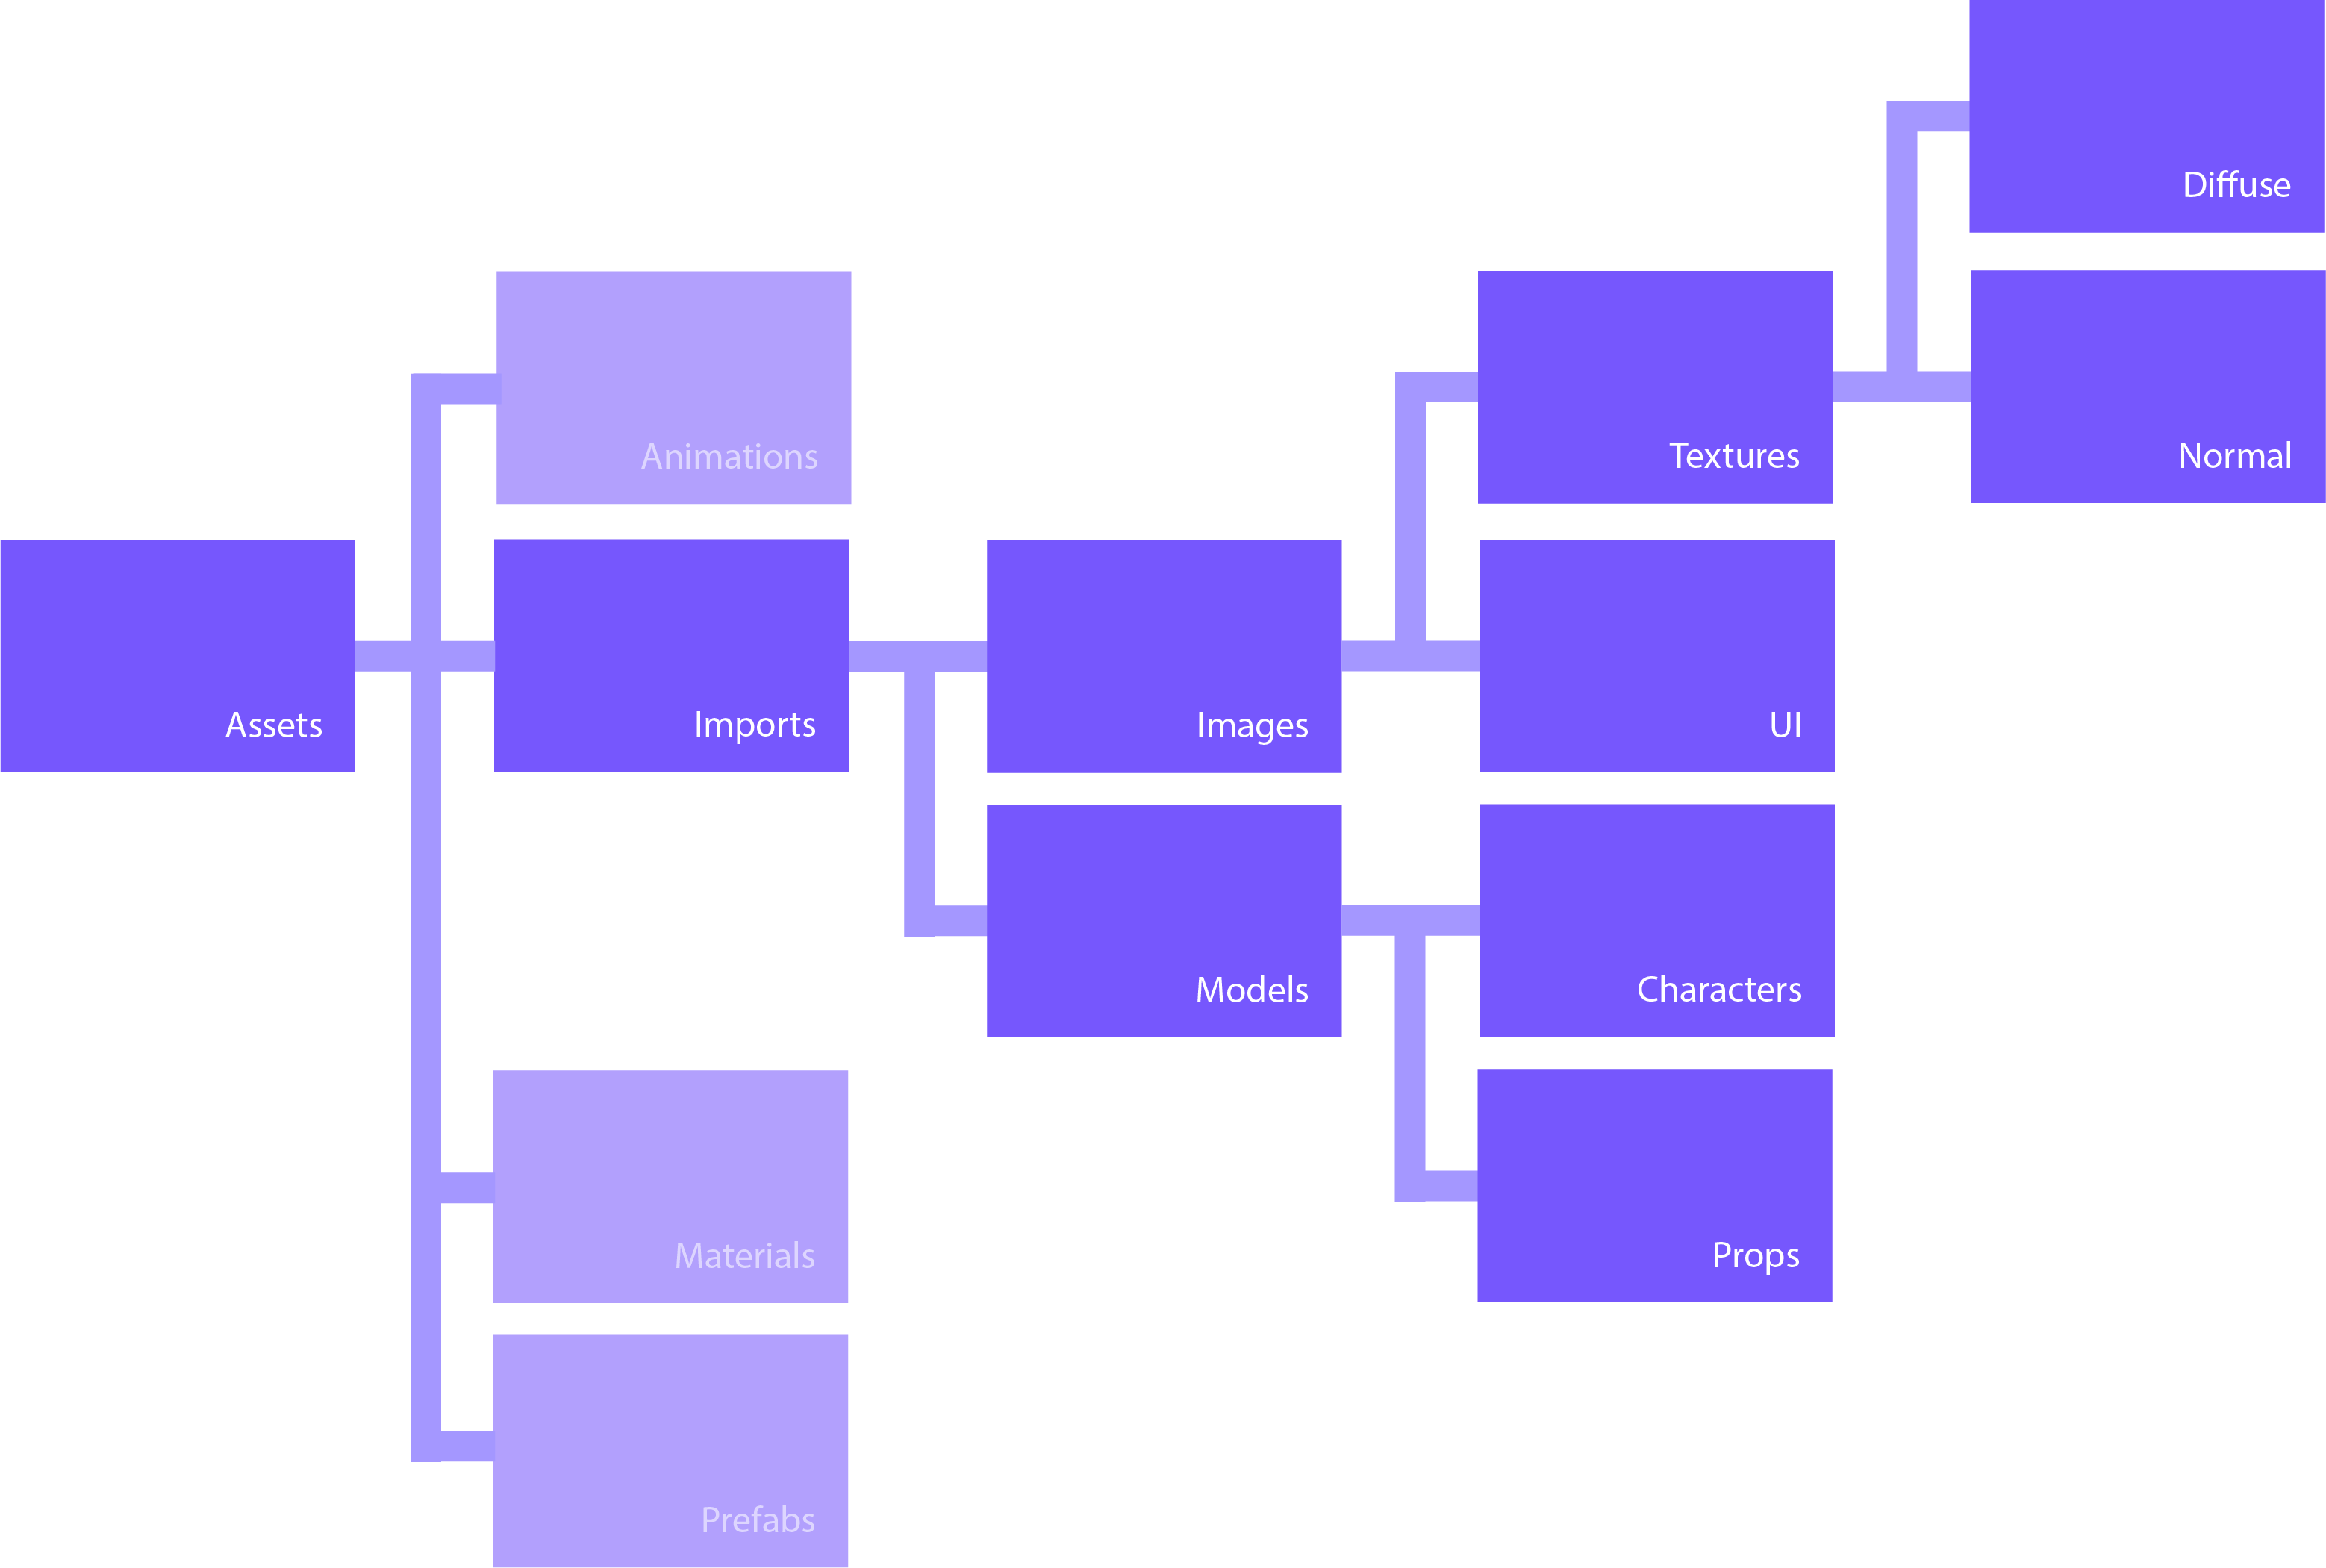
Type oriented folder hierarchy:
This hierarchy focuses on the type of the files for sorting. Having a parent folder for each type of file that is contained in the project. Files like images, audio files and more. This a hierarchy in which items can be easily found as long as you know the type of the object you search. This hierarchy can also be used dynamically with the object orientated folder hierarchy within the initial type parent folders. Having a folder for your main character within the Images parent folder for all the images belonging to the main character.

The Mesh
The following points are steps I would apply when handling the mesh. When the model you import isn’t optimized itself it will be harder to adjust for that in Unity 3D.
FBX:
Whichever 3D software you use I would always recommend exporting in the .FBX format. It’s one of the most supported file extensions that saves important parts from your 3D model like rigs, animation keys, blendshapes and more.
Optimize topology:
But before you import the model you should be sure your model is optimized at the level it doesn’t have more polygons than needed. This is an obvious step however one of the first steps that gets forgotten when there is less time to complete the project.

A fast way to reduce the topology is to use a function for it like the Cinema 4D reduction tool, Zbrush or Simplygon. However, I’ve found that these tools will most of the time change the topology in a way that edge loops are removed or changed. When there is enough production time I prefer to reduce the topology by welding or removing edge loops by hand. This way the original silhouette will be kept and you will have the best result after projection mapping the high polygon version of the mesh on the normal map of the low polygon version.
Base mesh with all the blend shapes:
When you have a model with multiple animations and or blendshapes I use to export one single base mesh. This mesh should be the one having all the blendshapes attached to it. This way the Skinned Mesh Renderer component will have all the correct links to the blendshapes. We will also use this base mesh when handling the animations.
Importing the mesh:
Getting your model in the project correctly is important, however not importing data that you won’t need is two. When implementing the mesh I always take a second to check or uncheck boxes if needed. Most of the time you can keep the most boxes checked (the mesh won’t import a camera if there wasn’t a camera in the file) however certain 3D software will export it’s default working light and camera as assets within your mesh. This would be a great example to uncheck the import cameras or import lights option boxes.
Animations and Animators
Never use the key all function:
This is something that won’t change your animation in a visual way, however this could greatly change your file size. In one of our projects an artist created animations with the key all function. These animation clips were 4 to 5 times greater than the other animation clips. Just because of all the added position and scale keys that weren’t being used for the visual animation.
Place stabilization keyframes:
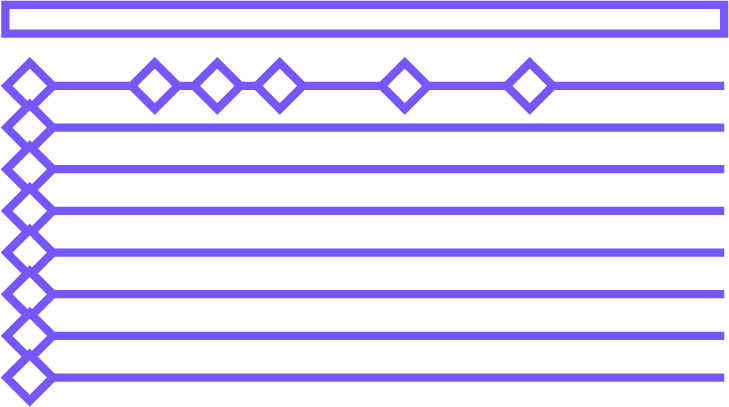
When blending between animation clips in the animator it is important to have a single keyframe for all the values that are animated within the animator. This makes sure that when an animation blends into another animation prematurely, the base start pose from the new animation is always the same. Otherwise there is a possibility that for example a blink blendshape isn’t restored in the new animation resulting in the character keeping it’s eyes closed until this blendshape is keyed in another animation.
Don’t use forward root motion:
Just a simple rule to be reminded of. The programmers will create the movement by code, so adding the forward root motion will only make it harder to control the positioning of the character. It also forces you to make all motion animations additive, this could be a decision that wouldn’t fit your project.
FBX file per animation clip:
My preferred way of working with animations is to create a separate FBX file for every animation clip. This way your files won’t be cluttered with lots of animation layers or timelines. Another bonus of this system is that you won’t have a huge timeline with all the animations following each other up. This way of importing animations also makes it much easier to replace animation clips. You simply import the FBX file, check the import settings, change the name of the animation and duplicate the animation clip into the animation folder. By duplicating the animation clip you also make it editable to change within Unity 3D. This can come in handy when using blendshapes for timeline animated blendshapes tend to be ignored when importing an animation in Unity 3D.
The Textures
Optimization:
For texture maps I prefer using .JPG or .PNG files. Within production .TARGA or .TIFF are also used however these files are bit bigger.
Changing these file types can save space when you are creating a web or phone application.
The .JPG format is used for non transparent texture maps and the .PNG format is used for transparent texture maps.
The Prefab

Separate the visual from the functional:
When creating a prefab I find it important to separate the visual part of the prefab with the functional part.
This could be achieved by having a parent empty gameobject above the visual and the functional part.
Keeping these parts separated makes you able to replace the visual part of the prefab without changing the functional part.
This is great for multiple iterations or polish.
Check the parent transform:
Finally be sure to check if the transform component of the parent object in the prefab is set in a way that when it’s instantiated by a programmer it is in the correct position.
In most of my projects that means I will make sure the position will be vector3 zero.
